InstructHow to install Japanese eSIM on Android in detail (Samsung, Pixel, Oppo, Xiaomi)
shibaSIM · 2026/07/25 · 6 min read
On Android, installing eSIM is essentially the same (download eSIM profile from QR code and then turn it on), but the menu name is different for each company. This is why many general instructions mislead users. This article shows the way for each popular device model, then the most important step is to turn it on correctly to get internet.
First: does your Android device support eSIM?
Not all Android devices have eSIM, and some versions sold in some markets omit this feature even though they have the same model name.
- Most high-end Android devices launched from 2019 onwards (Samsung Galaxy S/Note/Z, Google Pixel 3 and above, many new Oppo/Xiaomi devices) support eSIM.
- Quick way to check: go to Settings, use the search box to type "eSIM", if the result is adding eSIM, the device can be used.
- Should have Wi-Fi when installing, because downloading eSIM profile requires internet. It's best to do it at home before flying.
Steps according to each device brand
General method: open another screen (computer, tablet, or print QR code) for your phone to scan, then follow your company's link.
- Samsung (One UI): Settings → Connections → SIM Manager → Add eSIM → Scan carrier QR code.
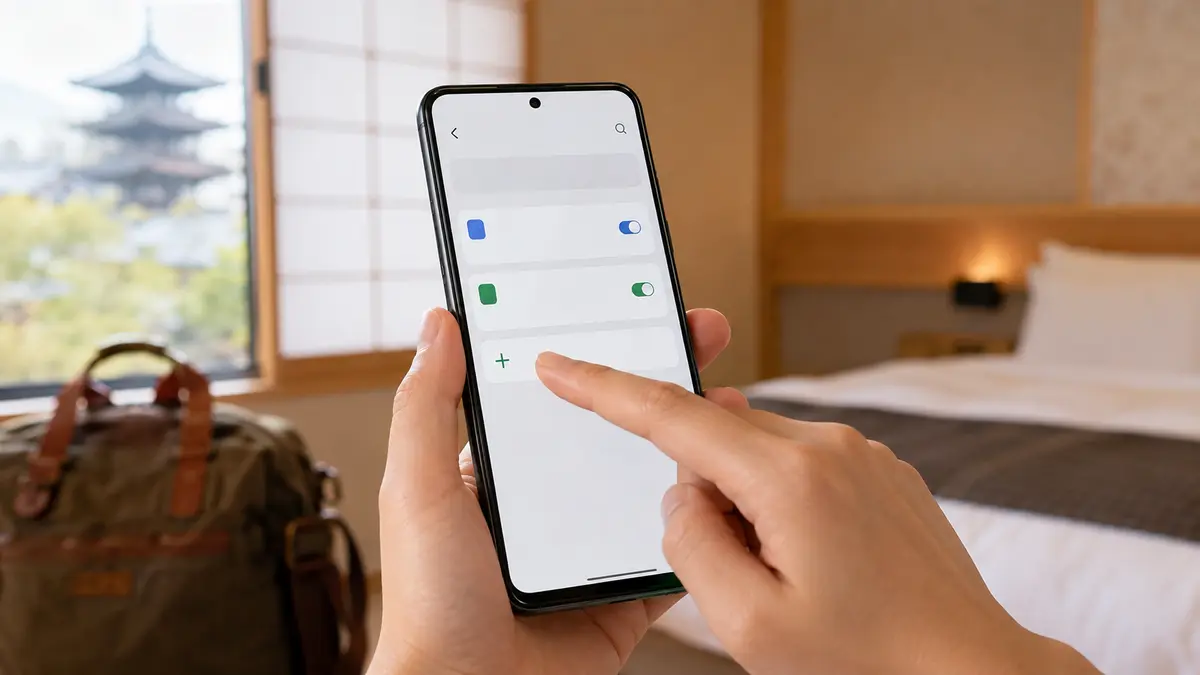
- Google Pixel: Settings → Network & Internet → press the plus sign next to SIM → select "Download SIM instead?" → scan QR code.
- Oppo/realme: Settings → SIM card and mobile network → Add eSIM → scan QR code.
- Xiaomi/Redmi: Settings → SIM card and mobile network → add eSIM (Add eSIM) → scan QR code.
If the code cannot be scanned, machines have the option to manually enter the SM-DP+ Address and Activation Code. These two information are in the attached shibaSIM email.
To Japan: turn it on correctly to get internet
After installation, the eSIM profile is already in the device but needs to be turned on correctly to access the network when you arrive at your destination.
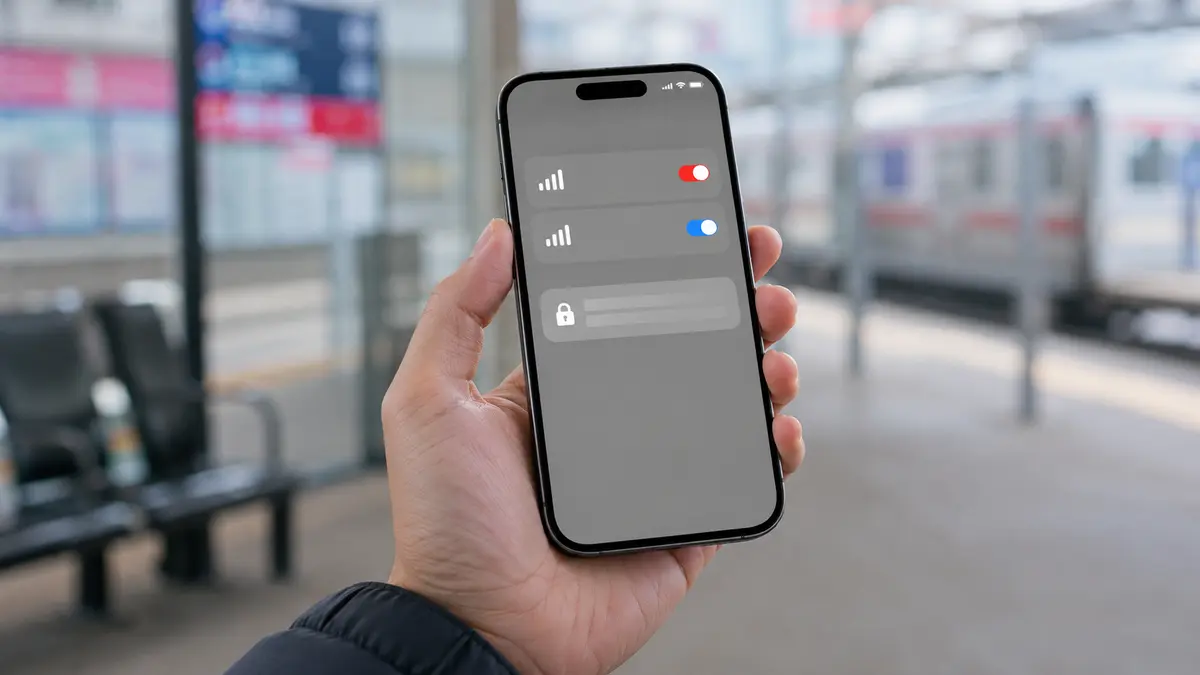
- Go to the SIM management section, turn on the Japanese eSIM line (Enable/On).
- Set Japanese eSIM as SIM to use mobile data (Mobile data). Vietnam SIM is kept for calling and receiving OTP.
- Turn on Data roaming for Japanese eSIM lines, because the travel package runs on the Japanese network, so this item needs to be turned on.
- You should turn off data roaming of Vietnam SIM to avoid incurring unwanted charges.
Because it runs in parallel, you still keep the same Vietnamese number to receive calls and the bank OTP code.
Tip: If after turning it on there is still no network, try turning off/on airplane mode again or restarting the phone once to let the phone find the Japanese network signal again. This is a simple operation but can handle most cases.
When you still can't access the network
On Android, common errors are choosing the wrong SIM for data, forgetting to turn on roaming, or the access point name (APN) is incorrect. Detailed processing steps are in the article how to fix when Japanese eSIM cannot access the network. If it is a package error, shibaSIM supports Vietnamese via Zalo/LINE and refunds if unable to activate.
Using an iPhone? See how to install Japanese eSIM on iPhone. If you are choosing a plan, refer to shibaSIM's Japanese eSIM plans. You receive a QR code immediately after payment, Vietnamese language support.
Planning a trip to Japan?Browse current plans and buy online in English, or ask our team if you need help.
Browse Japan eSIM plans →