Installing an eSIM on an iPhone actually only takes a few minutes, but most of the problems for people going to Japan for the first time do not lie in scanning the QR code, but in turning on the wrong data line or forgetting to turn on roaming so they still have no network when they arrive at their destination. This article goes through each step in the correct order, including common mistakes.
Before flying: check the machine and prepare
A few minutes of preparation at home will help you avoid struggling at the Japanese airport when the Wi-Fi is spotty.
- Check if the device supports eSIM: most iPhones from XR, XS and above have eSIM. Go to Settings → General Settings → About, scroll down if you see "Electronic SIM" or IMEI2, the device can be used.
- Make sure your iPhone is not locked (unlocked). Genuine devices purchased in Vietnam are usually already online.
- Have a Wi-Fi connection when installing: scanning the QR code requires internet, so you should do it while you're still at home.
- Keep the email containing the QR code that shibaSIM sends after payment, as you may need to scan it again.
Install eSIM using QR code: steps on iPhone
This is the fastest and least erroneous way. Open the email containing the QR code on another screen (computer, tablet, or print) for your iPhone to scan.
- Go to Settings → Cellular (some devices say "Cellular data").
- Select Add eSIM → Use QR code.
- Insert the iPhone camera into the QR code to scan. The machine will automatically read the package information.
- Click continue to add packages. When the device asks, set an easy-to-remember Mobile Label like "Japanese Travel" to distinguish it from the Vietnamese SIM.
After this step, the Japanese eSIM package is in the device but there is no need to turn it on yet if you are still in Vietnam.
When QR cannot be scanned: enter manually
If the camera cannot scan (the code is blurred, there is only one phone), you can enter it manually. In the "Use QR code" step, select Enter details manually and fill in:
- SM-DP+ Address (SM-DP+ Address).
- Activation Code (Activation Code).
These two pieces of information are located right in the email or instructions sent by shibaSIM with the QR code. Fill in verbatim, without adding extra spaces.
To Japan: turn it on correctly to get internet
This is the decisive step: after installation, if you don't turn it on correctly, there will still be "no signal". When the plane lands and you turn off airplane mode:
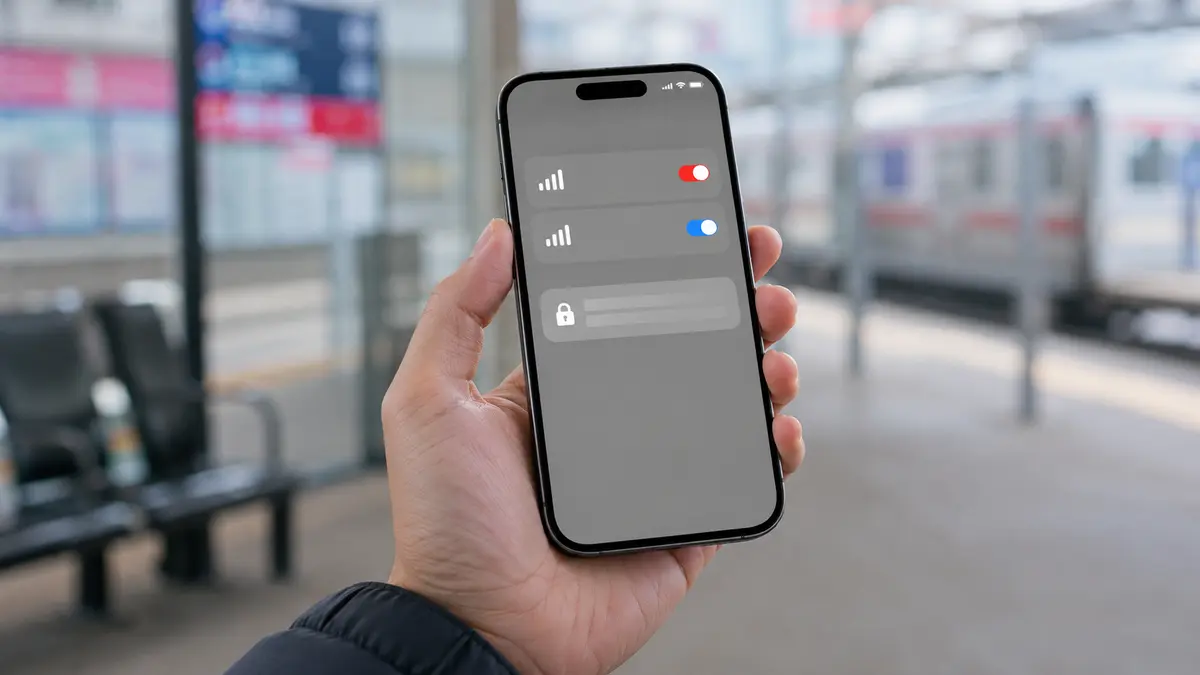
- Go to Settings → Mobile → select eSIM line "Japan Travel".
- Turn On This Line (Turn On This Line).
- Turn on Data Roaming for this Japanese eSIM line. The travel package runs on the Japanese network, so you need to turn this on to get online.
- In the Mobile data section, select the Japanese eSIM line as the data line. Leave the Vietnamese SIM intact for calling and receiving OTP, but turn off the data roaming of the Vietnamese SIM to avoid incurring unwanted charges.
Because eSIM runs in parallel, you still keep your Vietnamese number to receive calls and bank OTP code as usual.
Tip: You should add an eSIM (QR scan) when you're at home with Wi-Fi, but only turn on streaming and roaming once you're in Japan. Install it first to be sure, turn it on later to avoid wasting the pack's expiration date.
If you arrive there is still no network
Usually it's just because data roaming isn't turned on, the wrong data line is selected, or the device needs to be restarted once. If you've tried but it still doesn't work, see the details in the article how to fix when a Japanese eSIM cannot access the network. In case of package error, shibaSIM supports in Vietnamese via Zalo/LINE and refunds if unable to activate.
Using an Android device? See how to install Japanese eSIM on Android, the steps are slightly different according to the device manufacturer.
If you're choosing a plan for an upcoming trip, check out shibaSIM's Japanese eSIM plans. You receive a QR code immediately after paying by VietQR transfer, the price is listed in VND.