ChecklistChecklist for going to Japan on your own for the first time (full version 2026)
shibaSIM · 2026/07/12 · 8 min read

Going to Japan for the first time, the easy thing to forget is not exactly the suitcase but the small things that make you confused right when you need it most: not downloading an offline map, not receiving an OTP, not having change for the first train, or having to worry about installing an eSIM at the airport. This checklist is divided by time so you only need to do it one at a time.
7 days before: finalize documents and schedule
- Check if your passport is valid and visa/entry conditions are appropriate for your trip.
- Save airline tickets, hotel confirmations, insurance and schedules to your phone; Download additional PDF versions to open offline.
- Write the hotel address in both English and Japanese. This is very useful when asking for directions or taking a taxi.
- Notify your bank if your card needs to open international payments; Check the limit and how to block the card from the application.
3 days before: prepare money and connection
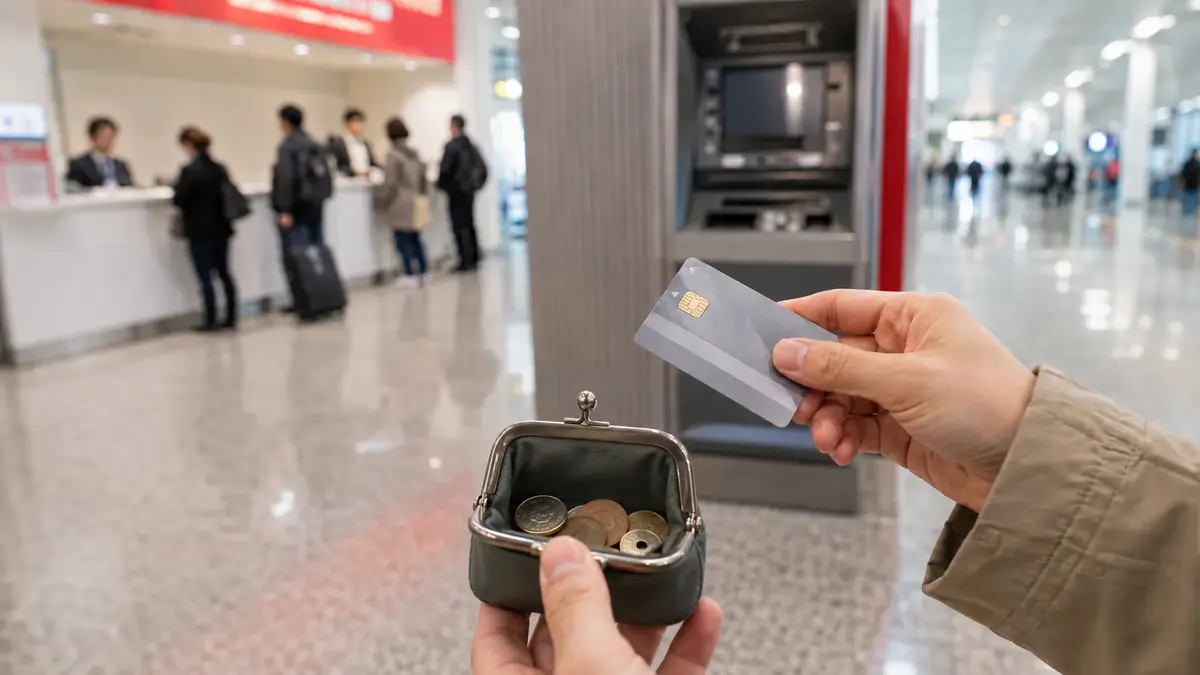
Don't exchange all your cash, but have yen on hand for places that only accept cash and have small fees on the first day. Divide money/cards in two different places to avoid losing it all at once.
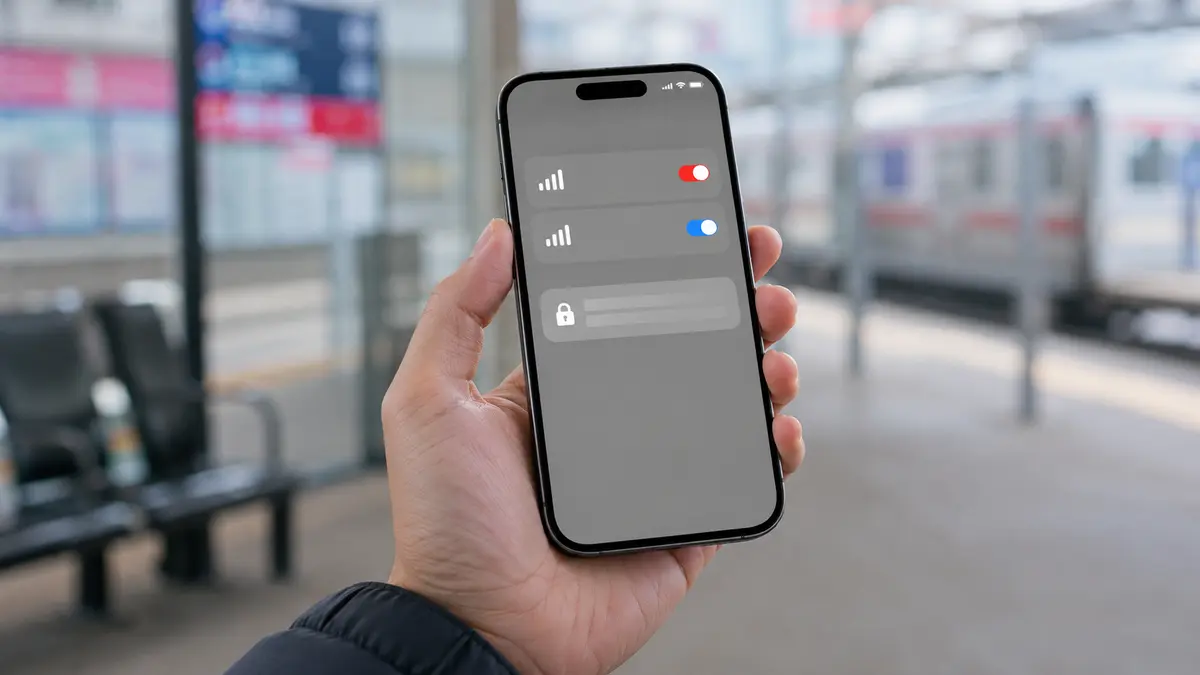
Regarding the network, check if the device supports eSIM and buy the appropriate package for the number of travel days. Should install eSIM while still in Vietnam, while Wi-Fi is stable; Only turn on data roaming for eSIM when arriving in Japan. If you need a bank OTP, read in advance how to keep a Vietnamese number when going to Japan.
Before 24 hours: download offline and charge the device
- Download offline maps for Tokyo/Osaka or your area in Google Maps.
- Download Japanese offline in Google Translate, and save the hotel address in the Saved section.
- Log in to your banking application, e-wallet and check the OTP sent via SMS or app.
- Backup battery charger, charging cable; Japanese socket is Type A, 100V. Most phone chargers today can be used, but check the charger label first.
- Take a photo of the eSIM QR and keep it in an easy-to-find folder; Do not send that QR to others.
At the Japanese airport: The first 5 things
- Turn on Japanese eSIM as Mobile Data line.
- Turn on Data Roaming for Japanese eSIM; Turn off data roaming of Vietnam SIM to avoid unwanted charges.
- Open Google Maps and try to find your way to the hotel before leaving the airport Wi-Fi.
- Take some cash or check your card/IC card before entering the train.
- Send messages to relatives when you have internet connection and save the support number of your residence.
Things you don't need to bring too much
- Don't print a stack of paper if you have an offline copy and a backup battery; Only print necessary documents according to trip requirements.
- No need to buy too large data packages just because you're worried. Estimated according to the number of days and usage in the article how many GB of data is needed to go to Japan.
- No need to exchange too much Yen from the beginning; Combining cash with payment cards will be more flexible.
Checklist 30 seconds before heading out the door
Passport · wallet/card · phone · charger/power bank · QR eSIM · offline hotel address · personal medicine · weather-appropriate jacket. If these seven items are enough, the rest can be handled.
Tip: Don't try to prepare "perfectly." The goal of the checklist is for you to get to your destination and still be able to find directions, be able to communicate, and be able to make payments. With those three things, the trip will be much easier.
Done with connection checklist? See Japanese eSIM plan according to the correct number of travel days; shibaSIM sends QR via Zalo/LINE and supports Vietnamese if you have trouble installing.
Related articles
Planning a trip to Japan?Browse current plans and buy online in English, or ask our team if you need help.
Browse Japan eSIM plans →